When building a home entertainment system, an increasing number of people are beginning to explore alternatives to traditional televisions—specifically, using a projector in place of a TV. Compact in size yet capable of delivering stunning visuals, projectors create a true cinematic atmosphere, allowing you to project your favorite movies, shows, and games across an entire wall. You can enjoy breathtaking colors, vivid details, and unparalleled immersion. In this guide, we will walk you through the many advantages of using a projector, the installation and setup process, and optimization steps to help you transform your projector into a fully functional centerpiece of your home theater.
1. Benefits of Using a Projector as a TV
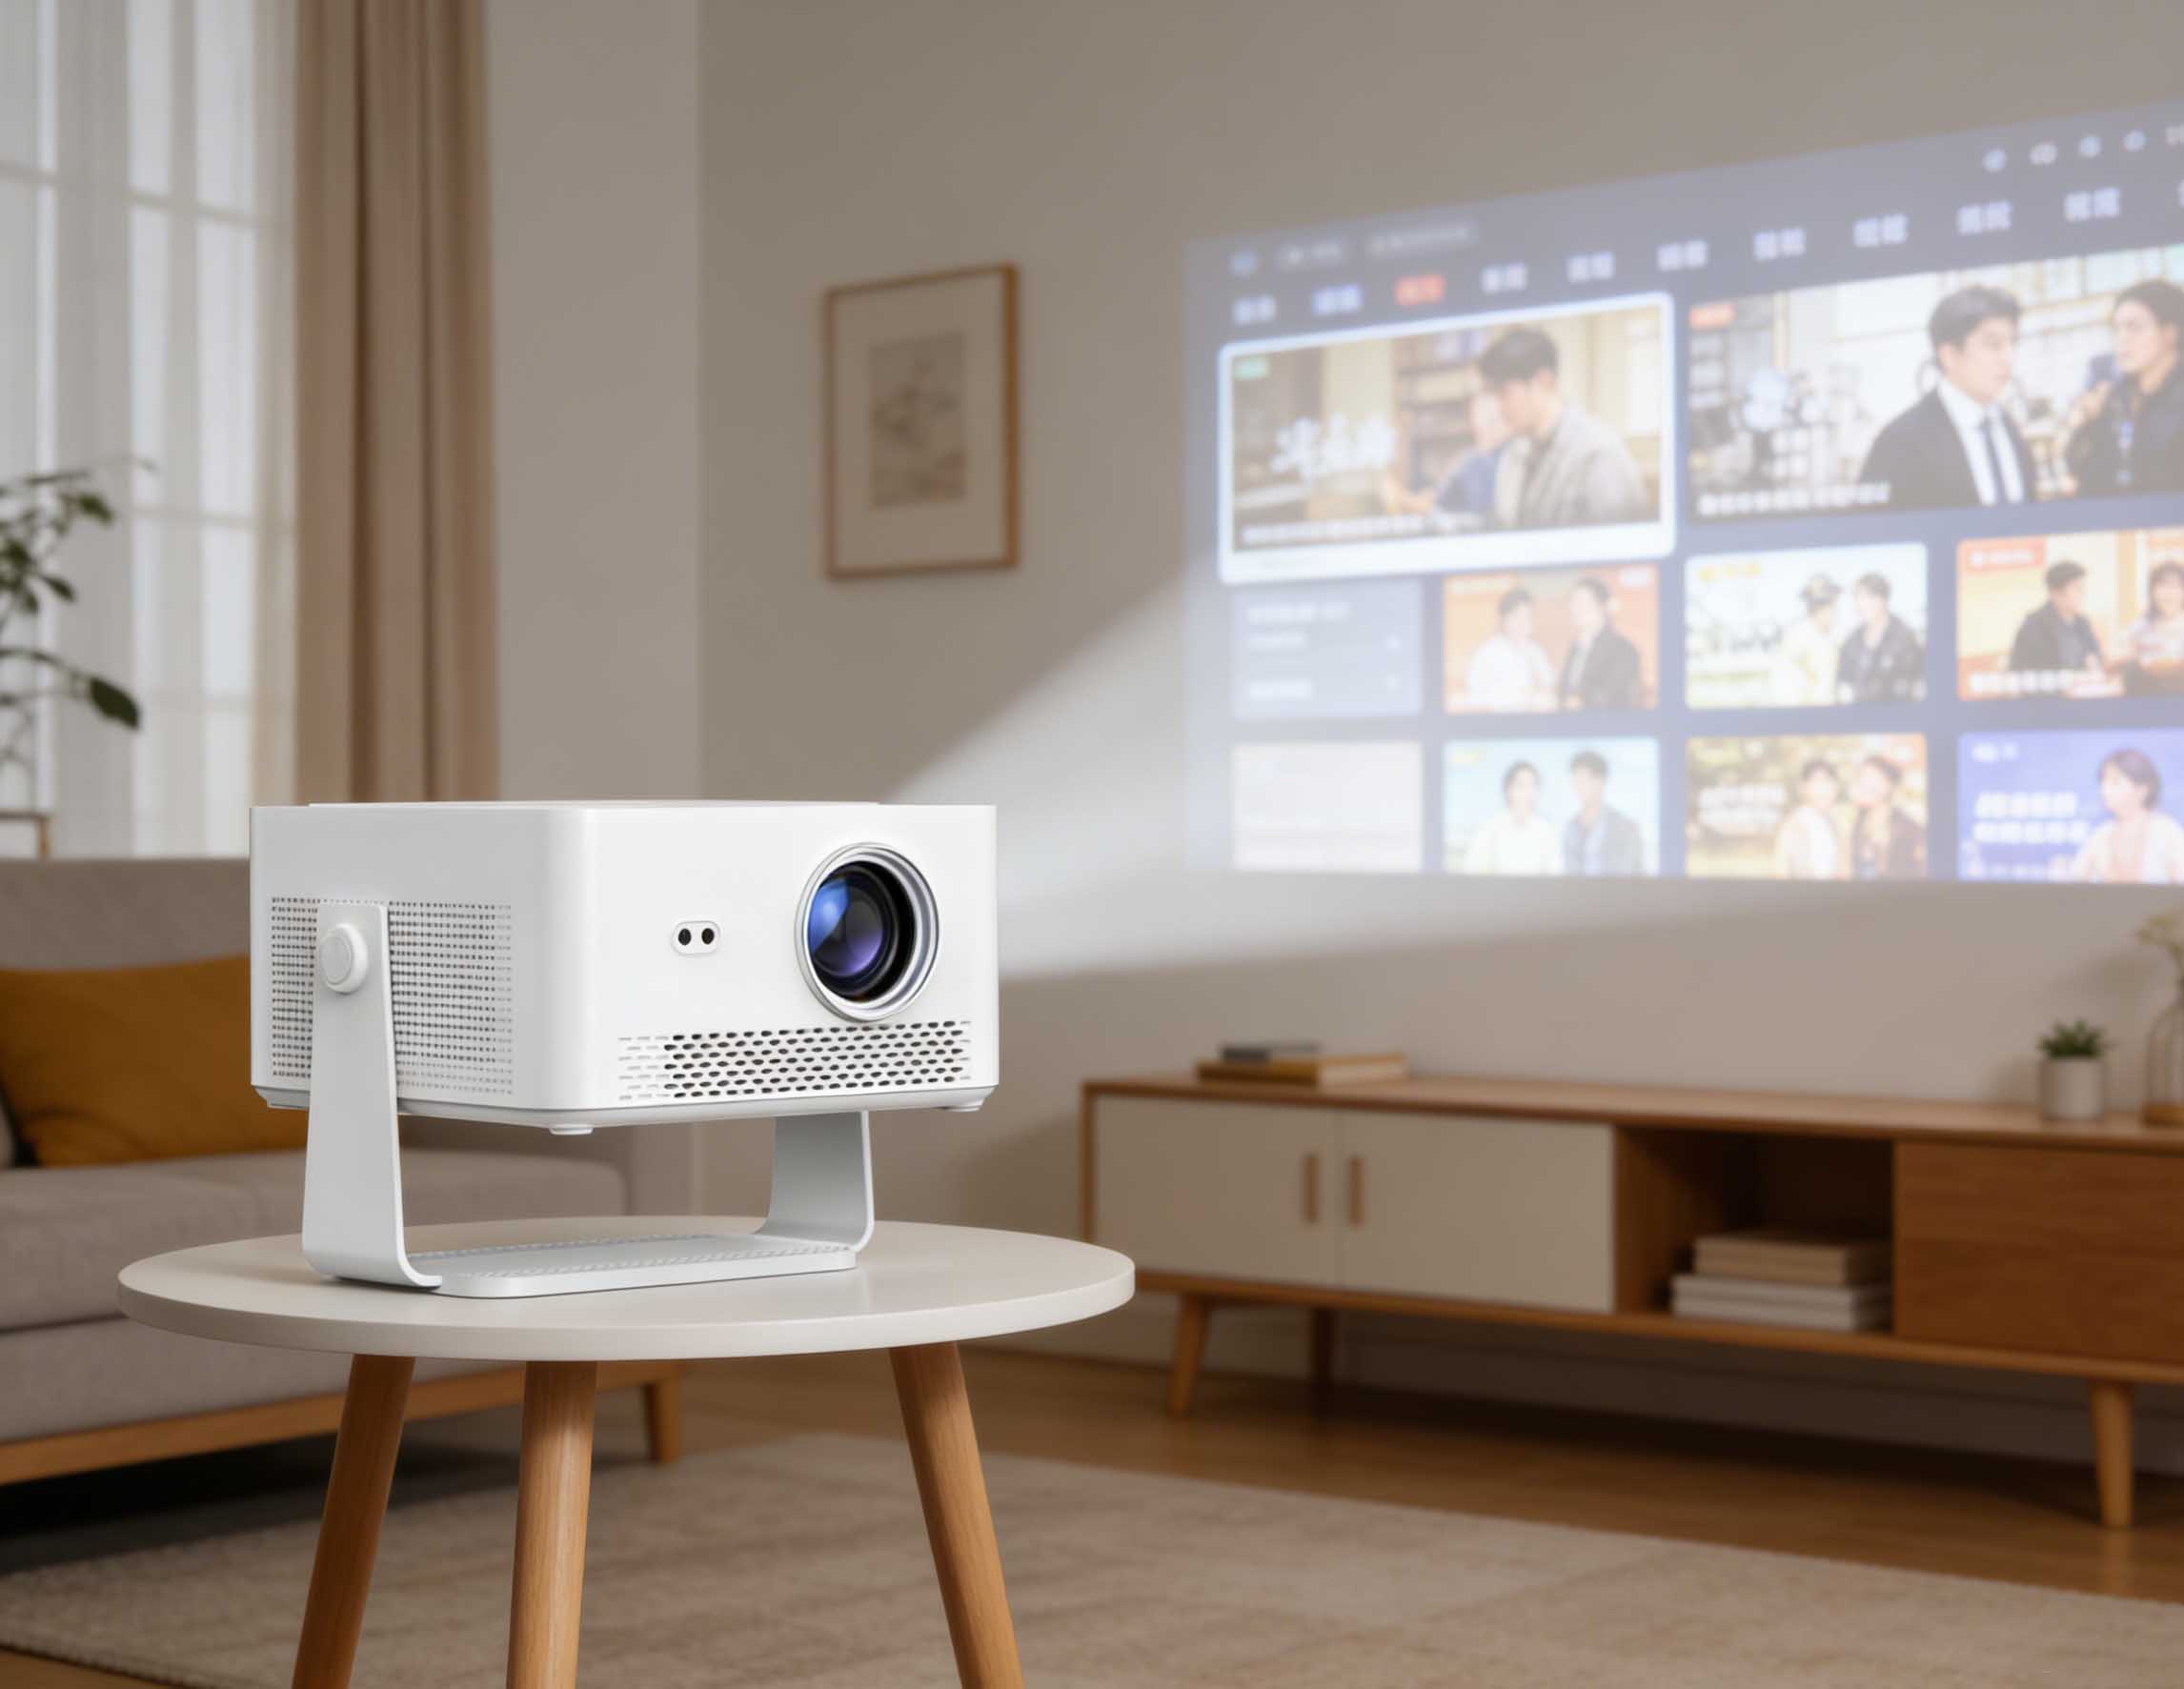
Switching from a standard television to a projector comes with several advantages. First, projectors can create much larger images than most TVs, allowing for a cinematic experience right in your living room. Second, they are highly portable; you can easily move them to different rooms or even outdoors for a backyard movie night. Third, projectors consume less space and often less power than a traditional TV. Finally, with proper calibration, the image quality of TV projection on wall can rival large-screen TVs, making it an excellent option for immersive viewing.
2. Understanding Projector Components
Before installation, it’s useful to know the basic parts of a projector. Understanding how does a projector work helps you troubleshoot and optimize performance, ensuring the best results for TV projection on wall. The key components include:
- Light Source: Can be LED, laser, or traditional lamp; provides the illumination needed to project the image.
- Lenses: Focus and direct the light to form a clear and sharp image on the screen or wall.
- Mirrors or DLP Chips: Reflect or manipulate the light to create the projected image.
- Internal Processors: Handle input signals, process video data, and control image output.
If you'd like to learn more, you can read this article: How Do Projectors Work? A Complete Guide to Modern Projection Technology
3. Installing Your Projector
- Choosing a Location: Decide between ceiling mounting or placing the projector on a stable surface. Ceiling installation saves space and provides a cleaner look, while tabletop placement is convenient for temporary setups.
- Preparation: Use a stud finder to locate secure mounting points, mark positions, and drill carefully.
- Mounting: Install brackets securely, then attach the projector. Make sure the unit is stable to prevent image misalignment or vibrations during use.
4. Adjusting Display Settings
- Resolution: Set the projector to its highest available resolution for sharp visuals.
- Aspect Ratio: Select 16:9 for widescreen or 4:3 for standard definition.
- Color Calibration: Adjust brightness, contrast, saturation, and color temperature for accurate reproduction.
- Keystone Correction: Fix any trapezoidal distortion caused by projector angles.
- Focus Adjustment: Ensure the projected image is crisp and clear.
Proper calibration ensures that your TV projection on wall looks professional and enjoyable.
5. Projector Connections
- HDMI: Ideal for Blu-ray players, gaming consoles, or streaming devices.
- USB-C or DisplayPort: Connect laptops or tablets.
- Wireless Streaming: Convenient for mobile devices, although some compression may occur.
Each method has advantages depending on the type of content and setup flexibility.
6. Audio Setup
| Audio Option | Best For | Notes |
|---|---|---|
| External Speakers / Soundbar | Immersive, cinematic sound | Connect via HDMI ARC, optical, or AUX for best quality |
| Built-in Projector Speakers | Simple and convenient | Good for casual viewing, but limited volume and bass |
| Audio Sync Adjustment | Solve lip-sync issues | Adjust delay settings to match video perfectly |
7. Video Source Management
| Task | How to Do | Notes |
|---|---|---|
| HDMI Input | Connect devices like gaming consoles, Blu-ray players, or streaming boxes | Supports high-definition video and audio |
| Switching Devices | Use the remote control or projector menu | Makes switching between multiple devices easy |
| Troubleshooting | Check cables, reboot devices, verify compatibility, update firmware | Ensures smooth operation and resolves common issues |
8. Controlling the Projector
- Adjust volume.
- Switch input sources.
- Manage image settings, color calibration, and keystone correction.
9. Optimizing the Viewing Experience
- Control Ambient Light: Use curtains or dimmable lights for a clear picture.
- Projector Placement: Keep a stable distance, adjust angle, and ensure proper ventilation.
10. Troubleshooting
- No Signal: Verify connections, power supply, and cable integrity.
- Distorted Image: Adjust focus, reposition the projector, or clean the lens.
- Audio Issues: Check speaker connections and volume settings.
- Other Problems: Adjust brightness, monitor temperature, consult the manual, or update firmware.
11. Conclusion
Using a projector instead of a traditional TV offers flexibility, immersive viewing, and a customizable home theater experience. At Magcubic, we specialize in producing high-quality projectors with reliable performance and small-batch customization options. Transform your wall into a cinematic masterpiece and enjoy the ultimate home entertainment experience.